On this page
Introduction
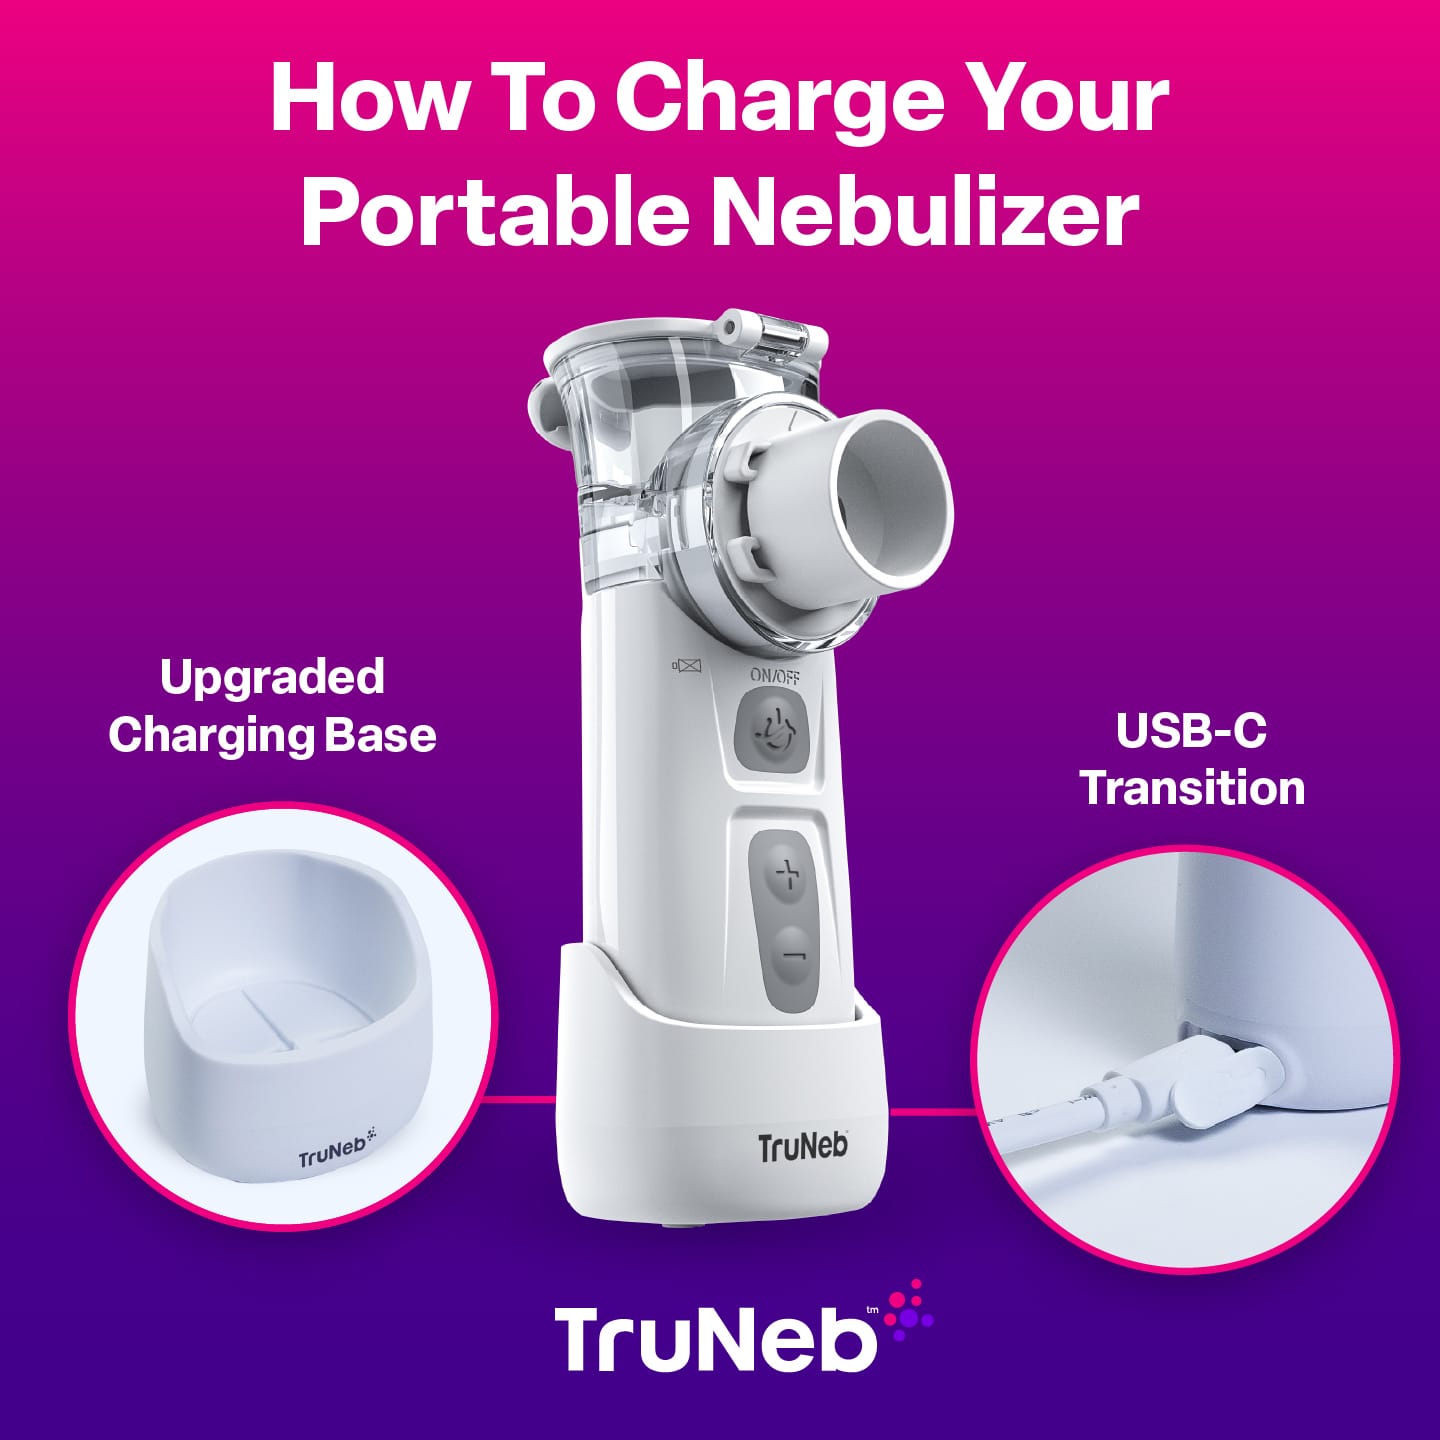
Navigating the world of portable medical devices can be daunting, especially when it comes to maintaining them. Today, we’ll focus on how to effectively charge your TruNeb portable nebulizer – ensuring it’s always ready for use.
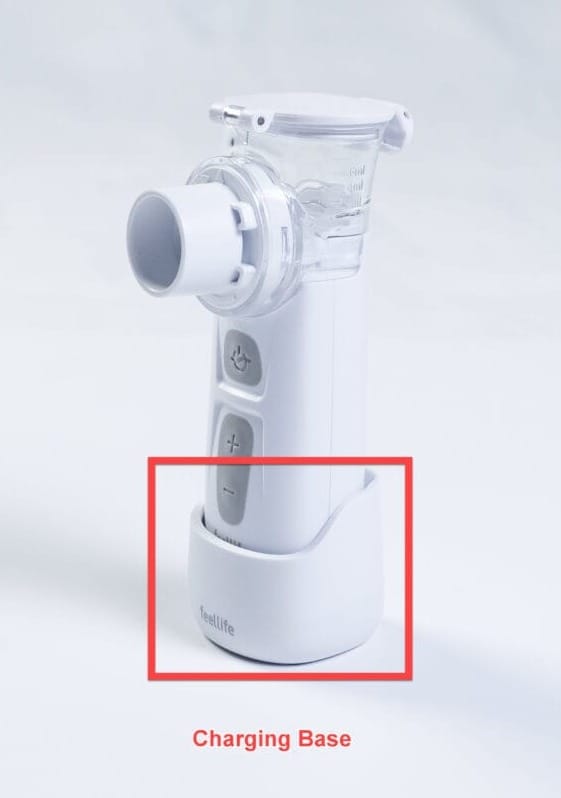
Using the Charging Base:
- Placement on the Base: Begin by placing your nebulizer on its charging base. It’s crucial to ensure that it sits properly on the contacts for effective charging.
- Power Connection: Connect the charging base to a power source using the cable provided with your TruNeb nebulizer.
- Charging Indicator: Once connected, a blue light indicator on the nebulizer will illuminate, signaling that the device is charging.
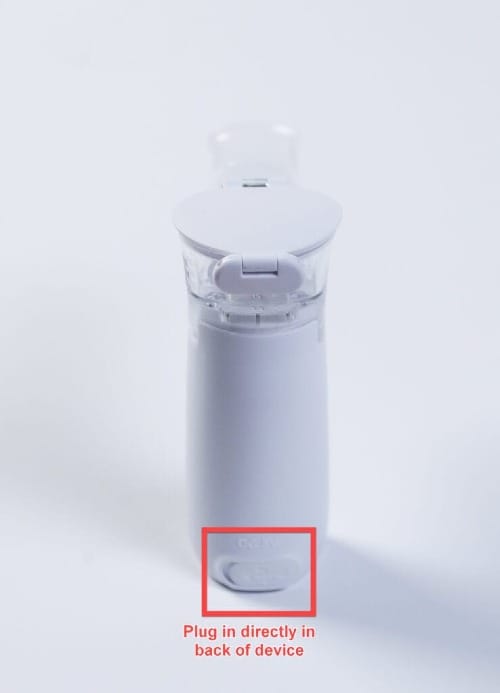
Direct Charging Method:
- Locate the Charging Port: If your nebulizer supports direct charging, find the charging port on the device itself.
- Connecting to Power: Use a Micro-USB cable (or the specified charger that comes with your TruNeb) to connect the nebulizer directly to a power source.
- Charging Status: A blue indicator light will appear, showing the charging status of your nebulizer.
Charging Tips:
- Use the Provided Charger: Always opt for the charger that comes with your nebulizer to prevent any potential damage.
- Charging Duration: It takes 3 hours for TruNeb to fully charge
- Safe Charging Environment: Ensure that both the charging base and nebulizer are in a dry place during the charging process.
- Duration: A fully charged battery will last between 6-10 treatments or an estimated 100 minutes of usage.
Indicator Lights Explained
– Blue light (left of power button)
– is the flashing Unit is charging
– is solid Unit is fully charged
Green light is solid Unit is nebulizing the medication
Orange light flashes Unit is ready; press power button a second time to nebulize medicine
Need Assistance?If you encounter any issues or have queries regarding the charging process, don’t hesitate to reach out to us. At TruNeb, we’re committed to making your experience with our product both seamless and satisfactory.

