On this page
Why Cleaning Your Inhaler Spacer Is Important
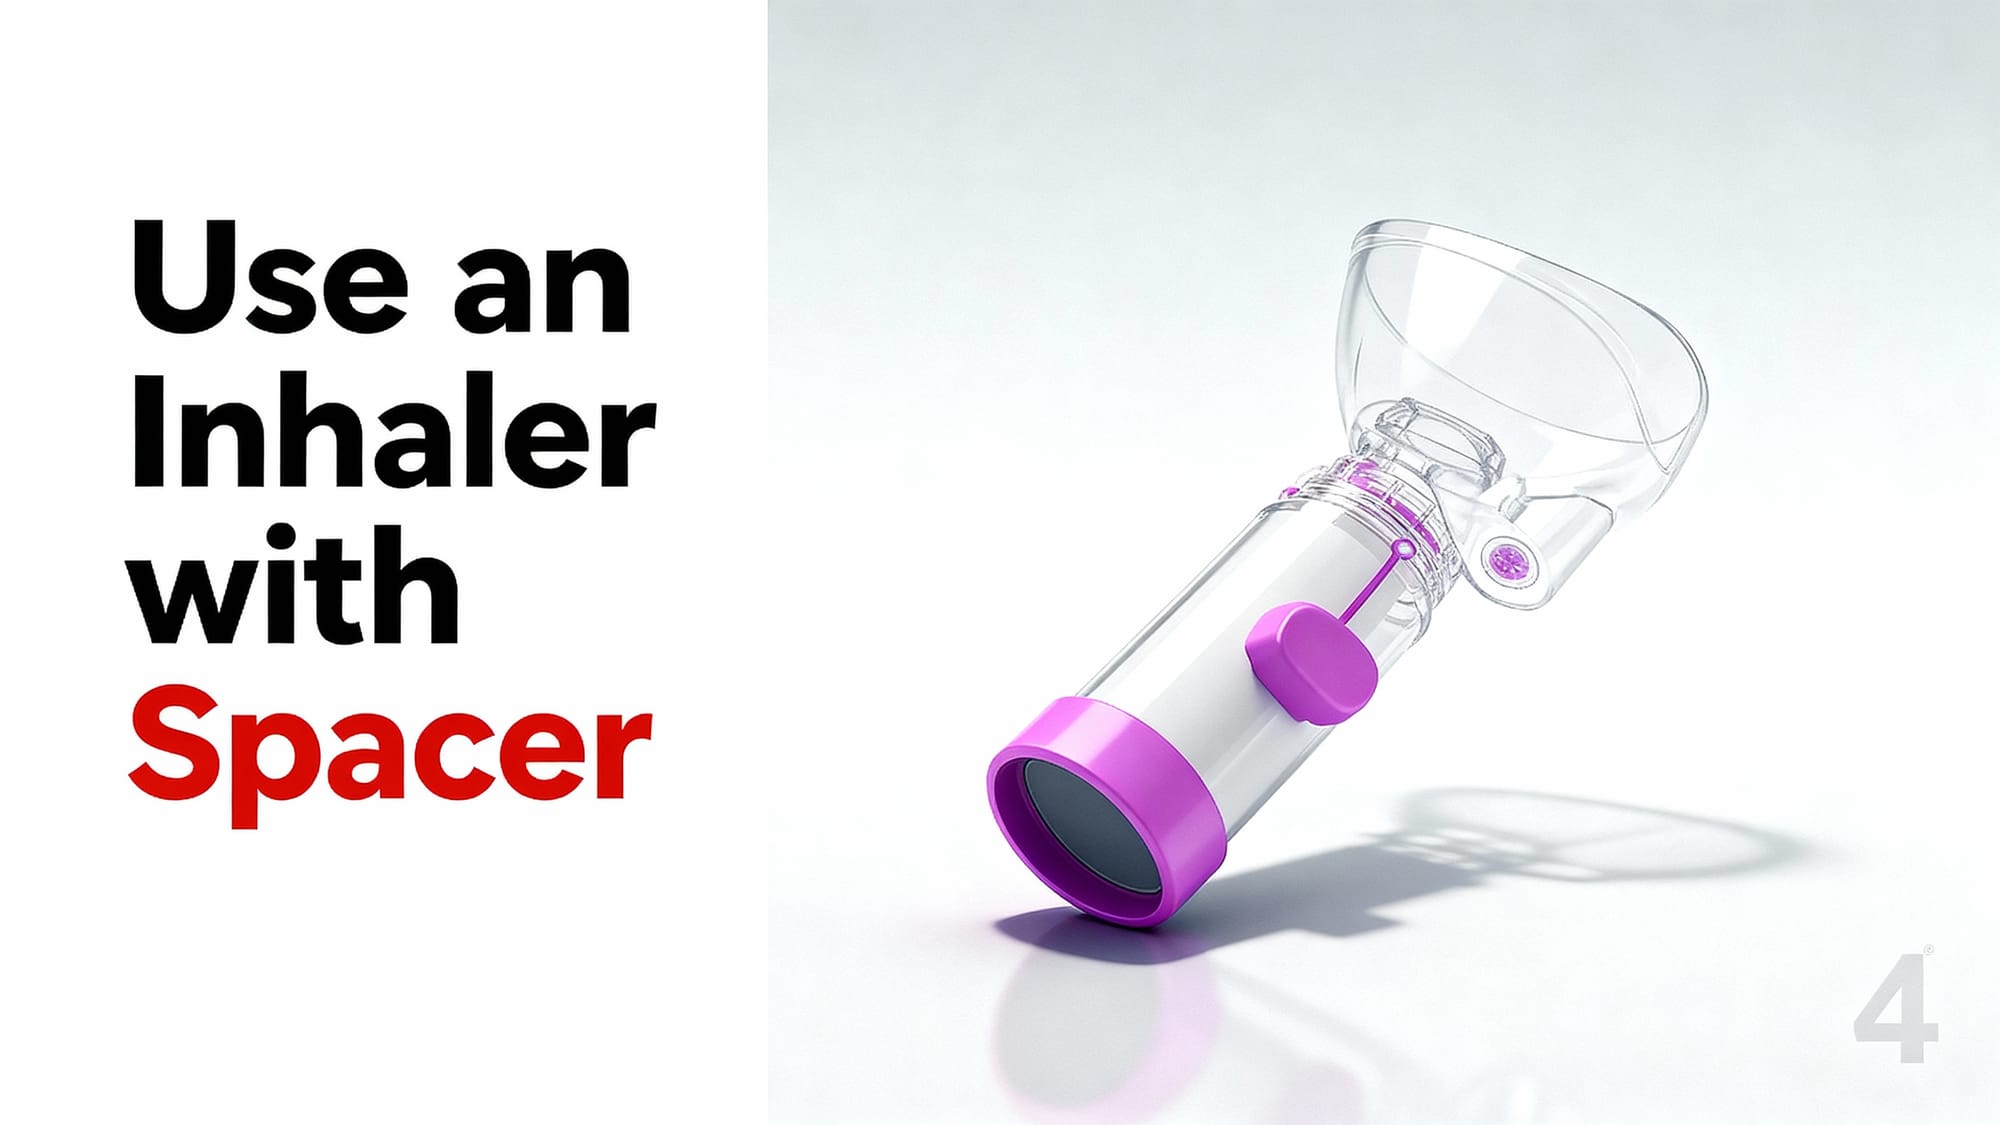
Cleaning your spacer (also called a valved holding chamber) helps your medicine reach your lungs and keeps germs out. Spacers (valved holding chambers) attach to a metered-dose inhaler (MDI) to help more medicine reach your lungs. Over time, medication can leave a film inside the chamber. Plastic can also build static electricity, which makes medicine stick to the sides instead of traveling into your airways. A simple wash with mild soap cuts static and removes residue so each puff counts.
If a spacer stays damp or dirty, bacteria and mold can grow. That can irritate your lungs and make breathing harder. Regular cleaning lowers this risk and keeps the valve moving smoothly.
Washing a spacer with mild detergent reduces static so more medicine reaches your lungs.

How Often Should You Clean Your Spacer?
Clean your spacer about once a week if you use it regularly. Do a quick wash sooner if it looks cloudy, feels sticky, after a cold or flu, or if someone else handled it. It’s also smart to wash a brand-new spacer before the first use to remove any factory dust and reduce static.
Clean your spacer at least once a week to keep it hygienic and effective.
What You’ll Need to Clean Your Spacer
- Wash your hands first
- Mild liquid dish soap (or gentle baby shampoo)
- Warm water (not hot)
- Clean bowl or basin for soaking
- Clean surface, rack, or paper towels for air-drying (do not wipe the inside)
- Optional: A soft cloth for wiping the outside only
Mild soap and warm water do the job—then let the parts air-dry fully.
Step-by-Step Guide: How to Clean Your Inhaler Spacer
- Take it apart. Remove the inhaler canister. Separate the spacer halves. Remove any mask or detachable parts per your device’s instructions.
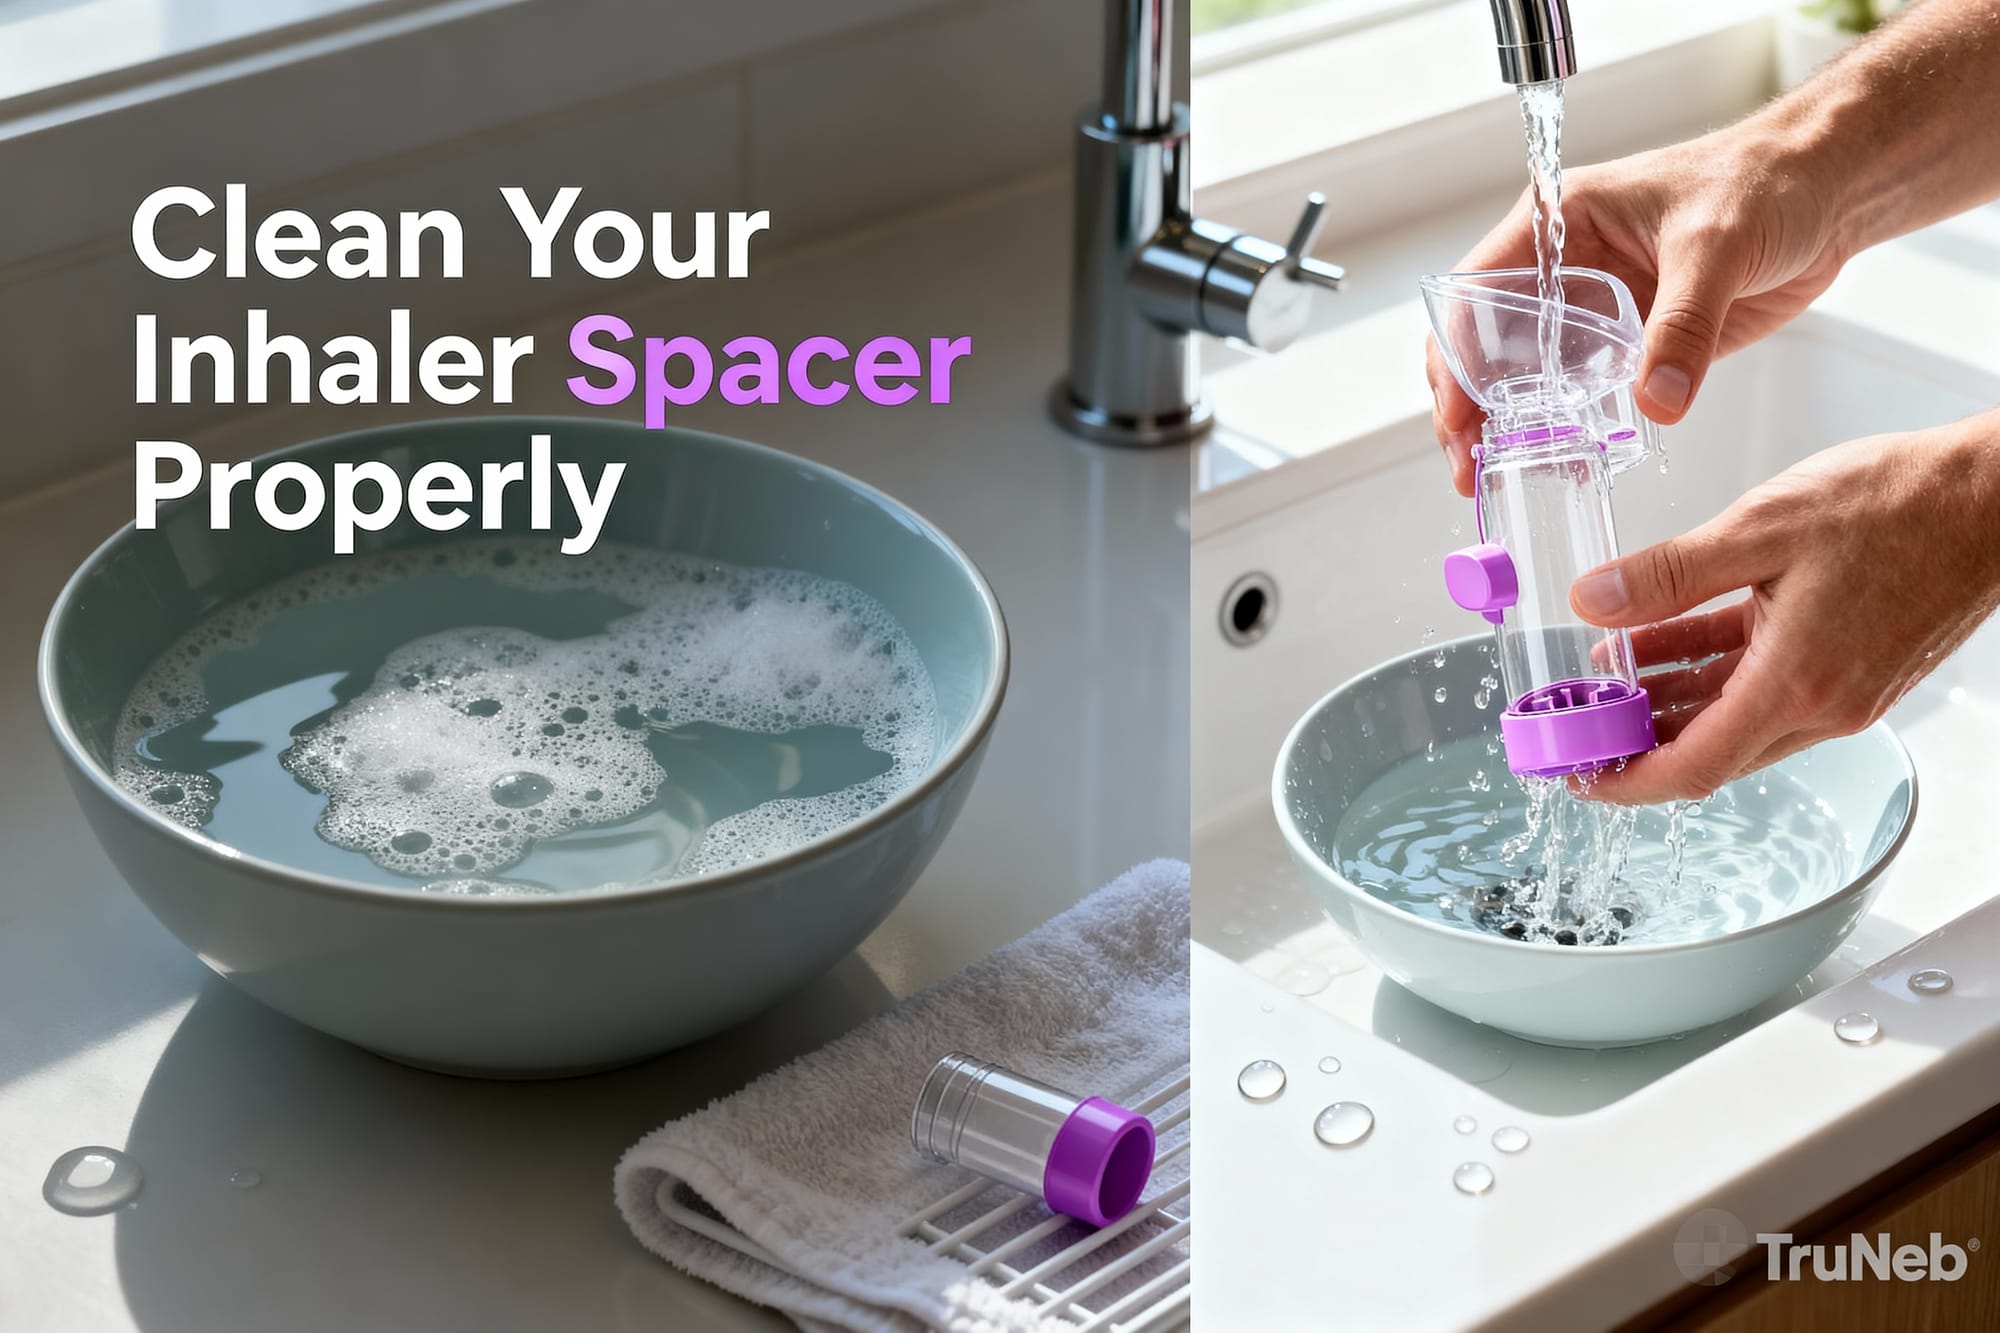
- Soak in warm soapy water. Fill a bowl with lukewarm water and add a few drops of mild dish soap. Submerge the parts, swirl gently, and let them soak for about 5–15 minutes.
- Gently clean. Use clean fingers to lightly wipe away any visible residue. Avoid brushes or abrasive pads. If your spacer has a face mask (common for kids), clean it gently and keep it away from heat to avoid warping.
- Rinse well. Rinse under clean water to remove loosened debris and most soap. A tiny soap film left behind can help reduce static.
- Shake off droplets. Gently shake to remove big drops. Do not towel-dry the inside.
- Air-dry completely. Stand parts upright on a clean rack or paper towel and let them air-dry fully (several hours or overnight). Avoid heat sources that can warp plastic.
- Reassemble and store. Once fully dry, reassemble and keep it in a clean, dry place.
Dishwasher note: Some spacers, such as the AeroChamber Plus Flow-Vu, are top-rack dishwasher safe on a gentle cycle. Skip heated dry and still air-dry fully. Always follow your device’s instructions.
Soak with mild soap, rinse, and air-dry—never towel-dry the inside of the chamber.
Do’s and Don’ts for Spacer Care
| Do | Don’t |
|---|---|
| Wash weekly or after illness | Boil or use high heat |
| Use mild dish soap in warm water | Scrub the inside (can scratch) |
| Air‑dry fully, upright1 | Towel‑dry the inside (lint and static) |
| Check the valve for cracks or sticking | Share your spacer |
| Wash before first use | Store while damp (mold risk) |
| Store fully dry in a clean, dry place | Use bleach, alcohol, or disinfectant wipes inside |
| Follow your device’s instructions2 | Microwave or leave in direct sun/heat to speed drying |
1 Air‑drying preserves anti‑static benefit; a tiny soap film can help reduce static.
2 Some models allow top‑rack dishwashing on gentle; skip heated dry and still air‑dry.
A quick look can prevent problems—if the valve sticks or the body is cracked, it’s time to replace.
Air‑dry only and avoid towels or heat to prevent static and damage.
When to Replace Your Spacer
Most spacers used daily typically need replacement about once a year. Replace sooner if you see cracks, warping, heavy cloudiness that won’t wash off, or a valve that no longer moves well. If the mask loses shape or the seal is loose, replace that part or the spacer. Check your device’s instructions; many makers recommend an annual swap under normal use.
As a rule of thumb, replace your spacer yearly or sooner if it’s damaged.
Quick Safety Note
Talk to your doctor before trying a new medication or changing how you use your inhaler or spacer. Follow the instructions that came with your specific spacer (for example, AeroChamber Plus Flow-Vu) for cleaning and replacement.
⚠️ If you have severe breathing trouble, chest tightness that doesn’t improve, bluish lips/face, or severe wheezing, seek emergency care immediately.
Frequently Asked Questions
Tap or click a question below to see the answer:
Yes. Washing removes medicine residue and germs and helps reduce static so more medication reaches your lungs.
At least once a week. Wash sooner if it looks cloudy or sticky, after illness, or if someone else handled it.
Residue and static can trap medicine inside, and moisture can let bacteria or mold grow, which can irritate your lungs and reduce effectiveness.
Sometimes—check your device’s instructions. Some models allow top-rack gentle cycles; skip heated dry and still air-dry completely.
No. Let it air-dry to avoid lint and static.
Yes, by the same person. Clean regularly and do not share with others.
AeroChamber is a brand of valved holding chamber (spacer) that serves the same purpose and is used with an inhaler.
Yes. A quick wash with mild soap and air-dry helps remove factory dust and reduce static.
A Helpful Note on Your Routine
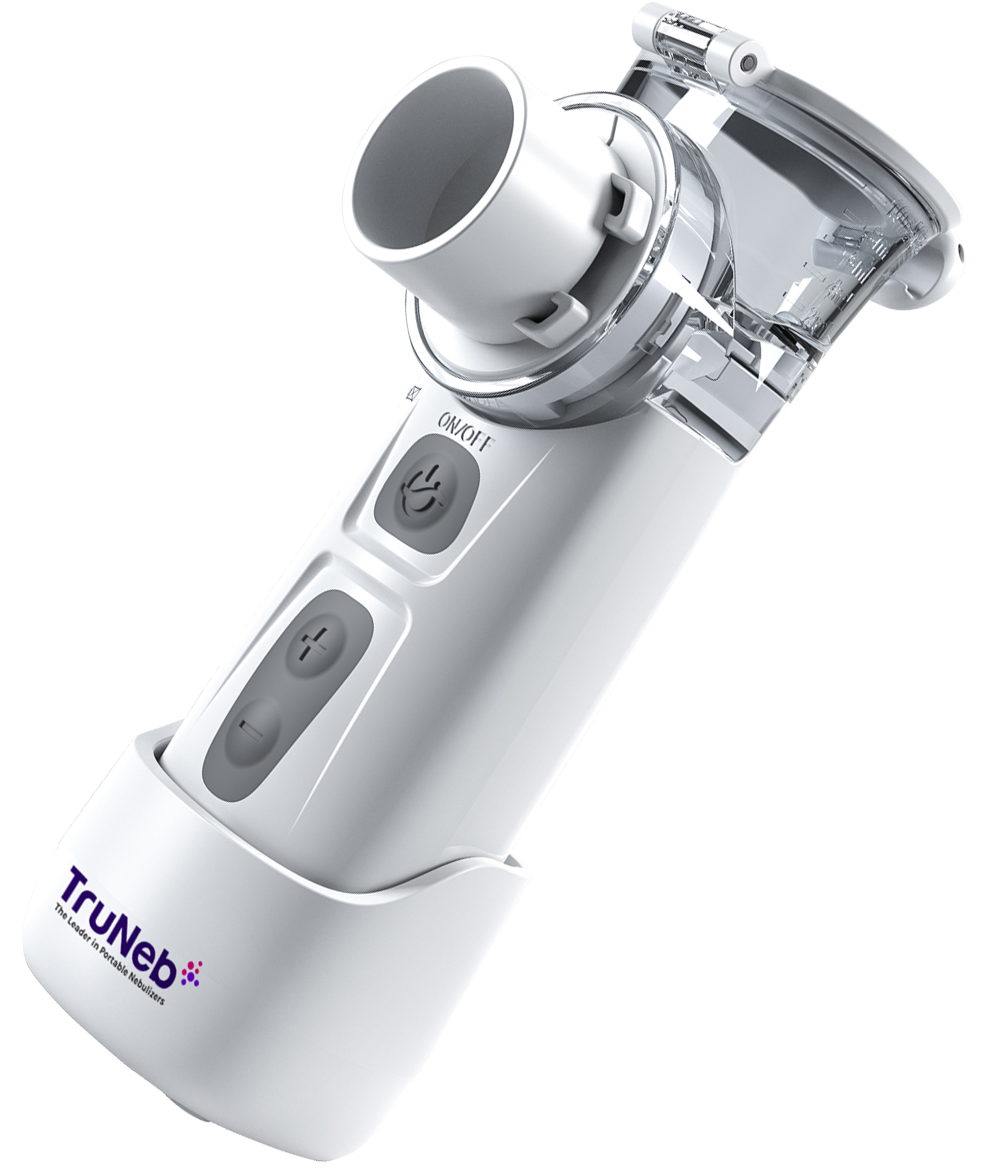
A clean spacer helps every puff count. Set a weekly reminder, wash, and air-dry overnight. If you’re exploring other delivery options, portable nebulizer like the TruNeb™ portable mesh nebulizer can be part of an asthma plan you build with your doctor.
Simple weekly care keeps your spacer working the way it should.
Disclaimer: This article is for informational purposes only and isn’t a substitute for professional medical advice. Always talk with your doctor about your health and treatments.